
Your New Cinder: What To Expect
It’s an exciting day! Your new kitchen appliance, the Cinder Grill, has arrived in its custom box! Now, what to expect from this new indoor grill? Well, that’s why we’ve written this quick guide for you! We want you to have the best possible experience with your Cinder, starting right at the start.
Unboxing the Cinder Grill
Be careful when bringing in your new kitchen appliance! The Cinder Grill weighs 31 pounds in the box, and 24 by itself. It’s not all that easy to lift out of the box. Therefore, don’t lift it out -- instead use gravity to help you! We have a short video to show you how:
https://www.youtube.com/watch?v=FqWN8L2-CwM&feature=youtu.be
Turn your indoor grill out onto a sturdy work surface, and don’t discard the box. You may need to transport your Cinder Grill, and the box is designed to fit and protect it perfectly.
Settling In Your New Kitchen Appliance
This is as good a place as any for the Cinder Grill’s vital statistics. So here you are:
The dimensions of the Cinder are 14in x 16in x 7in (height). When the lid is opened the total height is 17in. It runs on 110V, at sear it draws 2200 Watts, and it weighs 24 pounds.
With all this in mind choose a good location for it to stay in place. You won’t want to have to move it around once you’re using it. Also make sure it’s level, and that the lid doesn’t hit anything above it when the Cinder is opened.
Before using the Cinder Grill perform the calibration. This won’t take long, but make certain not to rotate the knob while calibrating. That cancels the calibration.
- Make sure nothing is inside the Cinder -- that it’s completely empty of packaging, food, etc -- and close the lid all the way.
- Turn on your Cinder and follow the instructions on the screen. It will call for you to press down the knob: apply pressure in the center and don’t turn the knob.
- Then let go, and press again very quickly.
- When the calibration is successful the ring around the knob will light up in green.
- If the calibration fails repeatedly, please email us right away (help@cindergrill.com).
Last but not least, download the Cinder App from the Apple Play Store. There are two versions, iOS and Android.
Test Out Your Indoor Grill
You can run your first cook session with your Cinder App. To do so, open the app, select the Settings tab, and choose your Cinder from the Device list. Be certain your Bluetooth is on! Once connected you can go to the Cook tab and use the dial to set a temperature.
However, you don’t have to. You can operate your Cinder Grill manually from the start. Just turn the knob to set your desired cooking temperature.
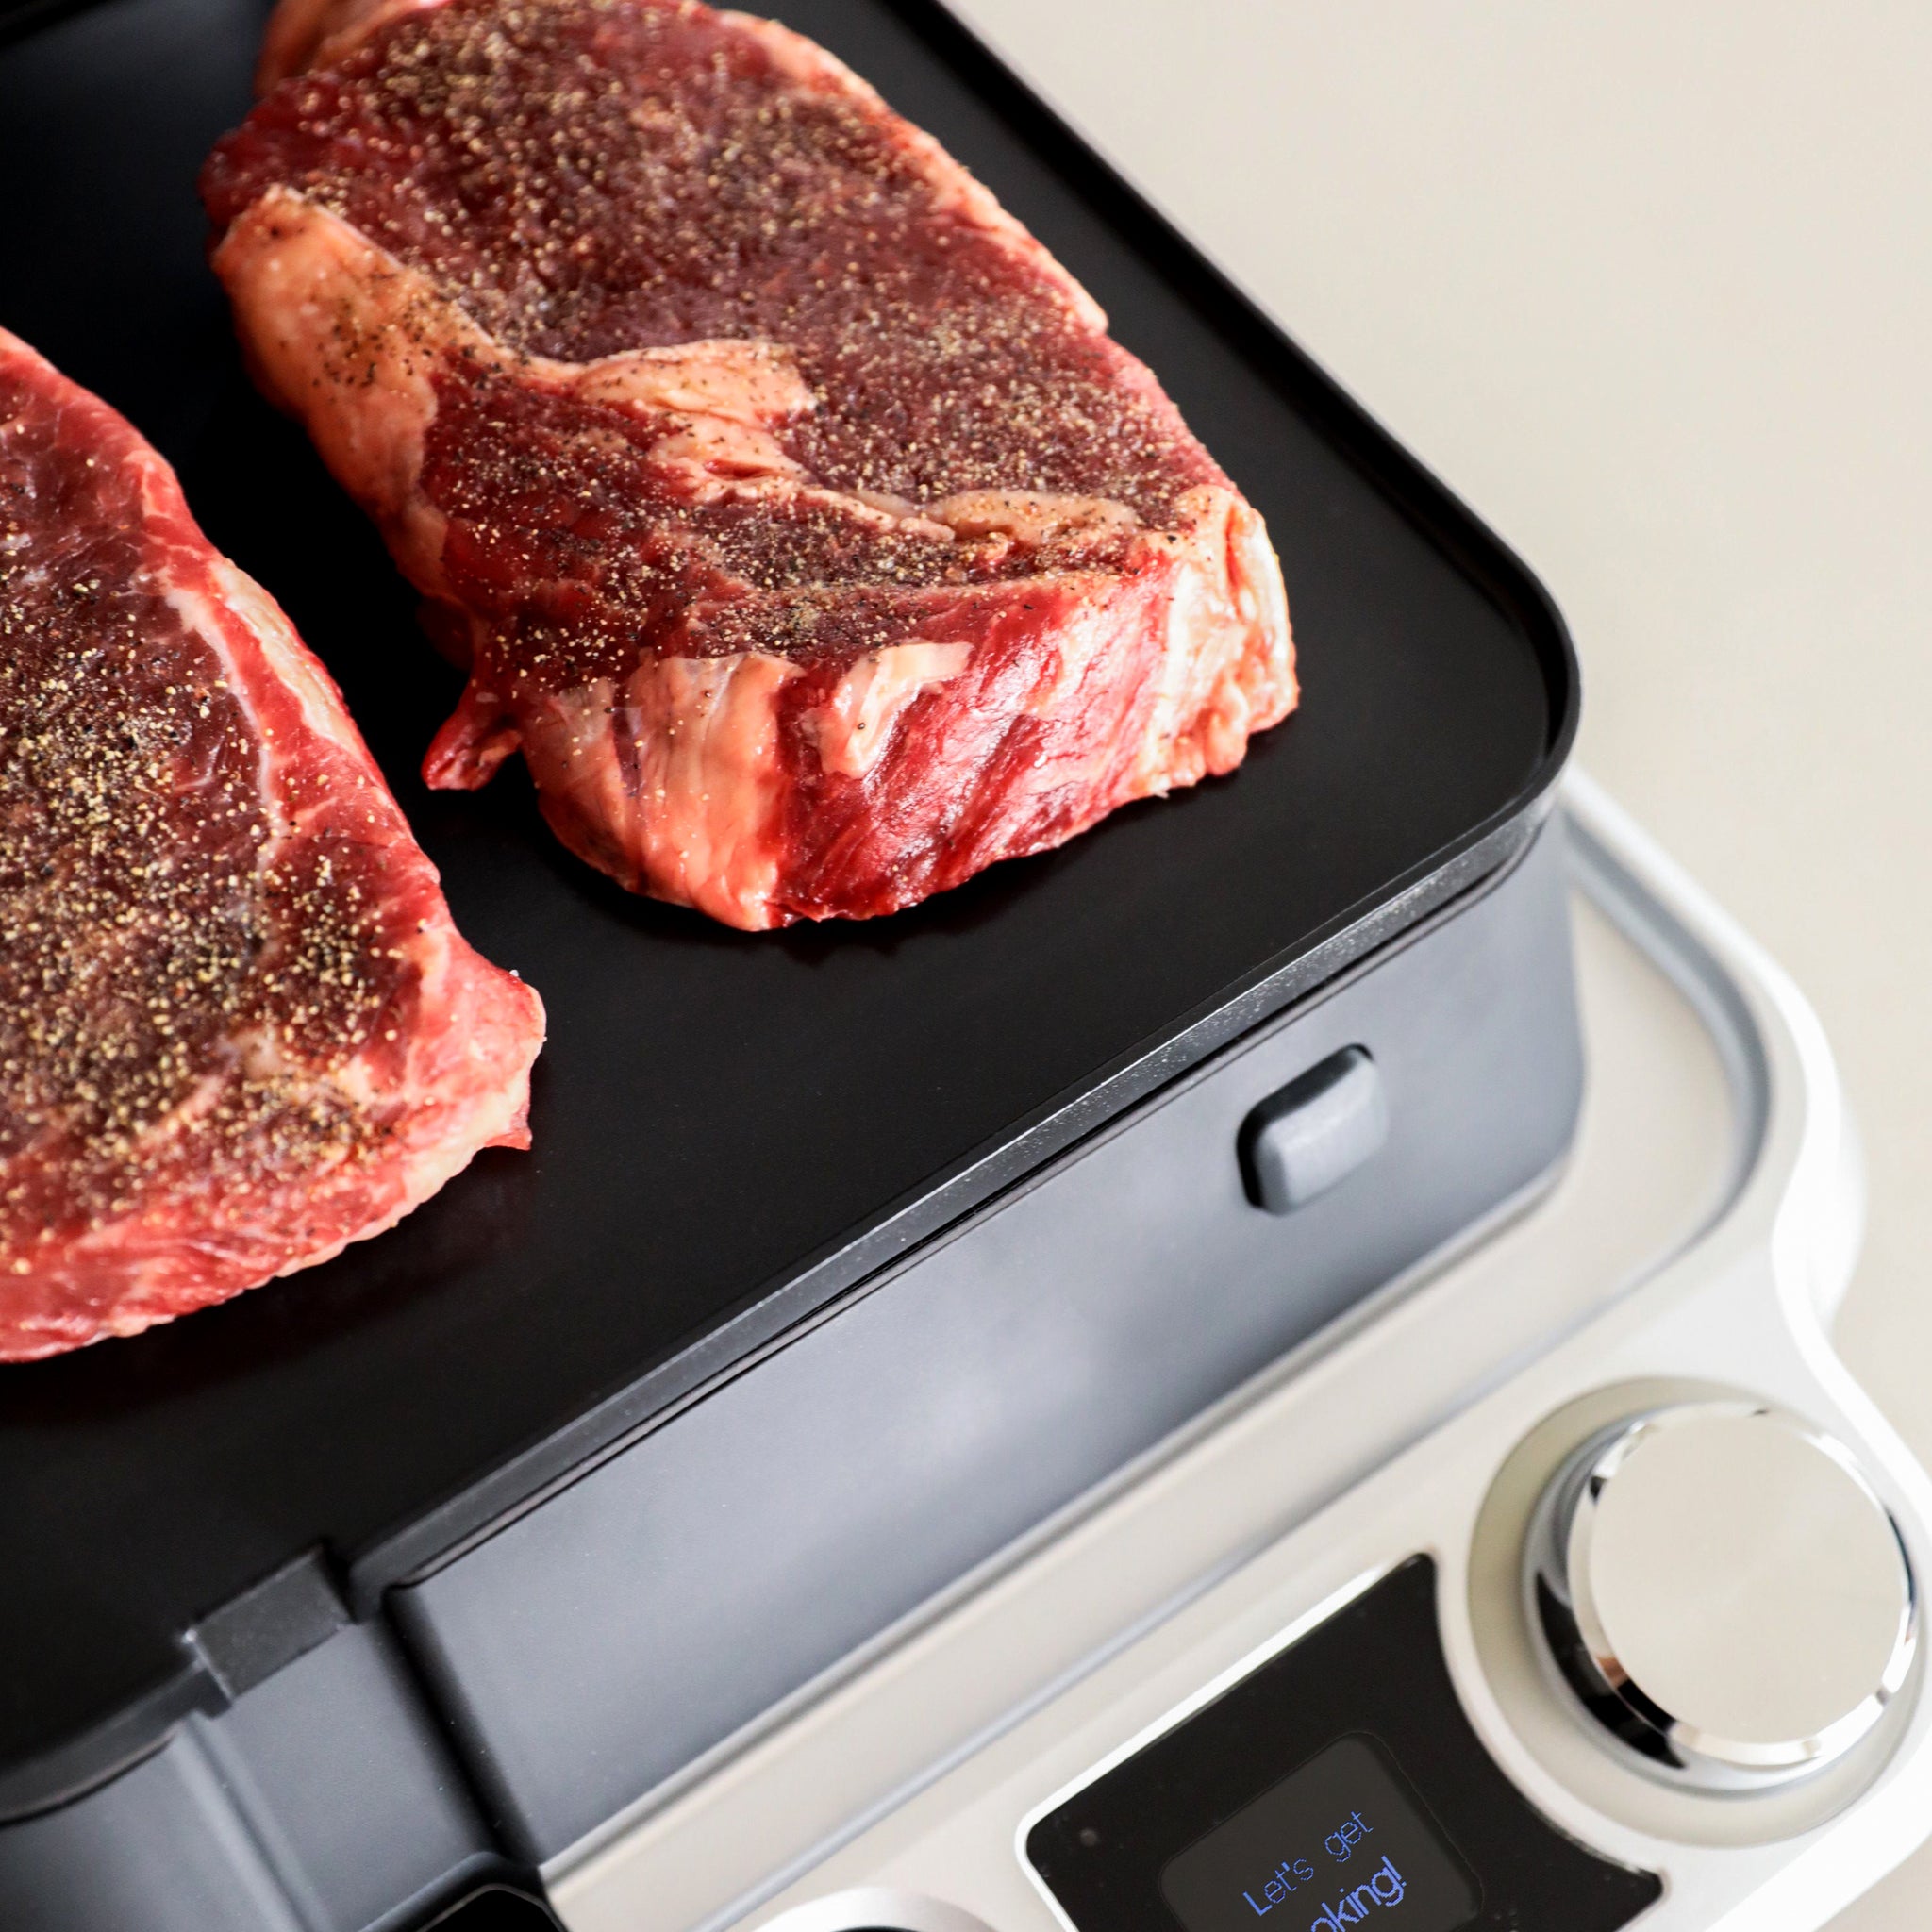
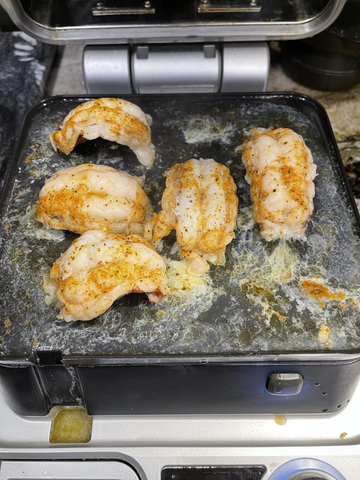
We’ve written several blog posts full of information to help improve your experience. The most relevant one at this moment is the “Frequently Asked Questions Part One: Cooking On the Cinder Grill”. The procedure will of course vary by what you’re cooking, but here's a quick summary of the process:
- Pat the food dry
- Season, and oil the surface if necessary.
- Place in the Cinder Grill and close the lid.
- Set to desired doneness.
- When food reaches desired temperature, remove it from the Cinder.
- Swipe the plates dry with a paper towel.
- If a sear is desired, set the Cinder to Sear Mode.
- Once Sear Mode is reached, place the food in the Cinder and set the Sear timer by pressing the knob. Remove the food promptly when seared enough -- you don’t want to overcook it!
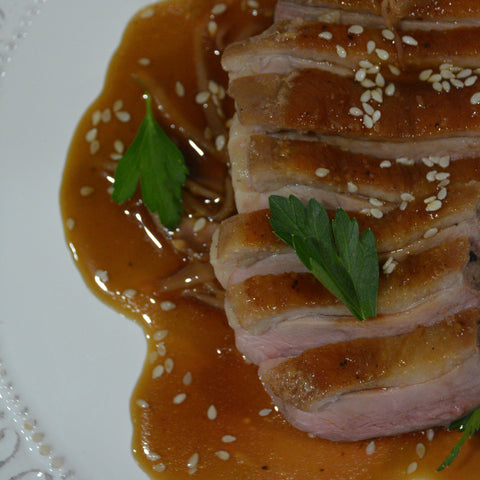
- Slice and serve.
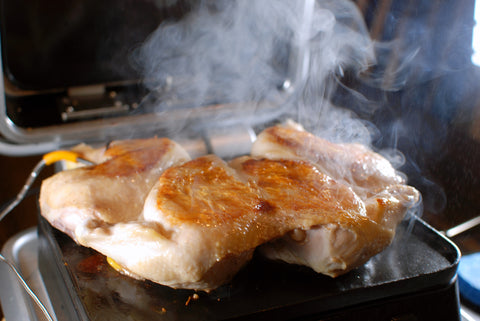
Smokeless Searing, Speedy Cleanup
A few more words about searing. The Cinder Grill is a smokeless grill, even during the searing step. After all, what good would it be if your new kitchen appliance filled your house with acrid smoke? To that end, we discuss searing and the smoke points of oils in both our Food Guide and our blog post “Different Ways of Searing on the Cinder” Only oils with smoke points above 450F (peanut, canola, avocado, and ghee) should be used to sear.
After cooking, cleaning up is notably easy for this indoor grill. No complex procedures or proprietary brushes are required. Let the Cinder cool down while you eat, until you can touch it safely. Then use a damp paper towel to wipe down the plates. If necessary add a drop of dish soap. If scouring is needed, try damp salt or Bar Keepers Friend cleanser. All the information you need is in “Caring For Your Cinder Grill”. The plates can be removed for easier access, but remember to keep their electronic side from getting wet!
And that’s your first meeting with your new Cinder Grill! We hope you love it as much as we love providing it to home cooks who appreciate restaurant quality food. If you have any questions, we have information on our Support Page and in our blog posts, especially our FAQ in Four Parts. Consider cooking on parchment and using ghee, and we hope this is the beginning of a long and tasty friendship!
Never Overcook Again
Try this on Cinder Grill Today
Related Posts
Simple Alfredo Sauce using the Cinder
Welcome Spring with the Cinder Grill